Amazing Koshari: Your Ultimate, Easy Recipe!
Koshari (often spelled Kushari or Koshary) is more than just a dish; it’s a national icon in Egypt, a symphony of humble ingredients coming together to create an explosion of flavors and textures. This hearty and satisfying meal, beloved by millions, is a staple on the bustling streets of Cairo and a comforting favorite in Egyptian homes. Whether you’re a seasoned foodie or new to Middle Eastern cuisine, preparing and enjoying Koshari is an experience you won’t want to miss. This guide will walk you through everything you need to know to create authentic Koshari in your own kitchen.
What Exactly is Koshari?
At its heart, Koshari is a delightful and surprising mix of pantry staples. Imagine a comforting bowl layered with perfectly cooked rice, earthy brown lentils, and a selection of pasta (typically macaroni or ditalini, and sometimes broken spaghetti). This carbohydrate-rich base is then generously topped with a tangy, spiced tomato sauce, tender chickpeas, and the crowning glory: crispy, sweet fried onions. Often, two special sauces accompany Koshari: a garlic vinegar sauce called “Dakka” for a zesty kick, and a spicy chili sauce known as “Shatta” for those who like it hot.
The magic of Koshari lies in its incredible harmony of seemingly disparate components. Each spoonful offers a delightful interplay of soft rice, al dente pasta, tender lentils, the zing of the tomato sauce, the pop of chickpeas, and the addictive crunch of the fried onions. It’s a vegetarian (and often vegan) dish that’s incredibly filling, flavorful, and surprisingly easy on the wallet.
A Glimpse into the History and Cultural Significance of Koshari
The story of Koshari is as layered as the dish itself. While it’s unequivocally Egypt’s national dish today, its origins are believed to be a fascinating culinary melting pot, reflecting Egypt’s diverse history.

It’s thought that Koshari emerged in the mid-19th century. Some theories suggest an Indian influence, with the name “Koshari” possibly deriving from the Hindi word “khichdi,” a dish of rice and lentils. During this period, Egypt was a vibrant hub of cultures, and ingredients like pasta from Italy and tomatoes (likely introduced by the British or other European communities) found their way into the local cuisine.
Initially, Koshari was a food of the working class – an affordable, nutritious, and filling meal. Street vendors played a crucial role in popularizing the dish, and their iconic carts, often adorned with colorful glass, became a familiar sight. Over time, Koshari transcended social classes, and today it’s enjoyed by Egyptians from all walks of life. It’s a symbol of Egyptian resourcefulness, a testament to creating something extraordinary from simple ingredients.
Koshari is more than just sustenance; it’s woven into the fabric of Egyptian daily life and culture. It’s a go-to meal for a quick lunch, a satisfying dinner, and is even enjoyed during Ramadan for Iftar (the meal to break the fast). The act of assembling your own bowl of Koshari, customizing the layers and sauces, is part of the experience, fostering a sense of community and shared enjoyment.
Crafting Your Own Koshari: The Ultimate Recipe
While the list of components might seem daunting at first, preparing Koshari is essentially about cooking each element well and then bringing them all together. Think of it as a culinary construction project!
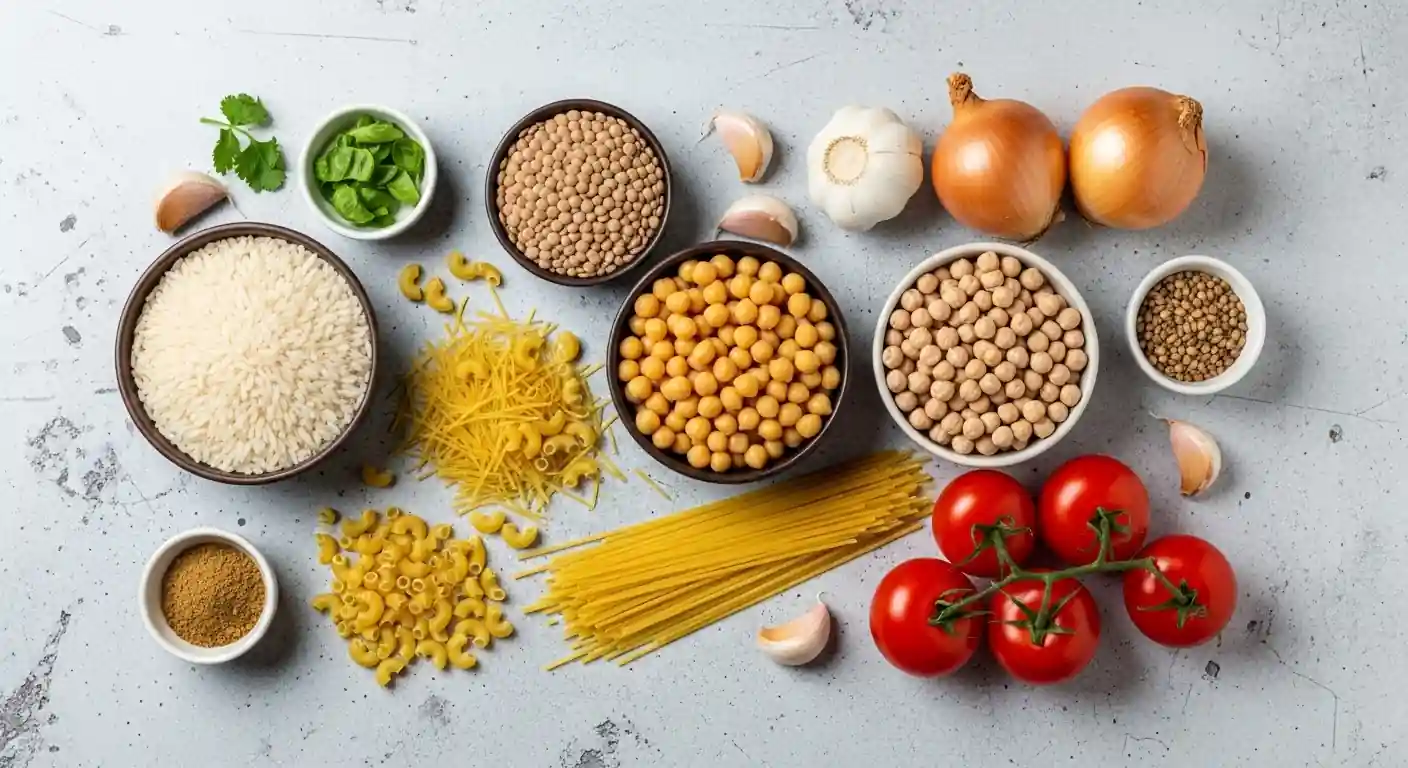
Ingredients You’ll Need
This recipe breaks down the ingredients by component for clarity.
For the Rice:
- 1 cup medium or short-grain rice, rinsed
- 1 tablespoon vegetable oil
- 1 ¾ cups water or vegetable broth
- Salt to taste
For the Lentils:
- 1 cup brown or green lentils, rinsed
- 3 cups water
- 1 teaspoon cumin powder
- Salt to taste
For the Pasta:
- 1 cup small elbow macaroni (or ditalini)
- ½ cup vermicelli or spaghetti, broken into small pieces (optional)
- Salt for boiling water
- 1 tablespoon vegetable oil (optional, to prevent sticking)
For the Chickpeas:
- 1 (15-ounce) can chickpeas, rinsed and drained, or 1 cup dried chickpeas, soaked and cooked
For the Tomato Sauce (Salsa Hamra):
- 2 tablespoons olive oil
- 1 medium onion, finely chopped
- 3-4 cloves garlic, minced
- 1 (28-ounce) can crushed tomatoes or tomato puree
- 2 tablespoons tomato paste
- 1 teaspoon cumin powder
- 1 teaspoon coriander powder
- ½ teaspoon red pepper flakes (or to taste)
- 1-2 tablespoons white vinegar
- 1 teaspoon sugar (optional, to balance acidity)
- Salt and black pepper to taste
- ½ cup water (or more, for desired consistency)
For the Crispy Fried Onions (Wardi):
- 2 large onions, thinly sliced (preferably with a mandoline)
- ½ cup all-purpose flour (optional, for extra crispiness)
- Salt
- Vegetable oil for frying (about 1-2 cups)
For the Garlic Vinegar Sauce (Dakka) (Optional):
- 4-5 cloves garlic, minced
- ½ cup water
- ¼ cup white vinegar
- 1 teaspoon cumin powder
- Juice of ½ lemon (optional)
- Salt to taste
For the Spicy Chili Sauce (Shatta) (Optional):
- 1-2 tablespoons red pepper flakes (or 2-3 fresh hot red chilies, minced)
- 2 cloves garlic, minced
- 2 tablespoons olive oil
- 2 tablespoons tomato sauce (from the main batch)
- A squeeze of lemon juice or a dash of vinegar
- Salt to taste
Step-by-Step Instructions for Making Koshari
1. Prepare the Crispy Fried Onions (Wardi):
This is a crucial step and the oil used can be repurposed for other components, adding flavor.
- Thinly slice the onions. If using flour, toss the sliced onions with flour and a pinch of salt until lightly coated. This helps them get extra crispy. Shake off any excess flour.
- In a deep skillet or pot, heat about 1-2 inches of vegetable oil over medium-high heat.
- Once the oil is hot (a small piece of onion should sizzle immediately), carefully add the onions in batches. Don’t overcrowd the pan, as this will lower the oil temperature and result in soggy onions.
- Fry the onions, stirring occasionally, until they are golden brown and crispy. This can take 10-15 minutes. Be watchful, as they can go from golden to burnt quickly.
- Remove the crispy onions with a slotted spoon and transfer them to a plate lined with paper towels to drain any excess oil. Sprinkle with a little more salt while they are still hot. Set aside.
- Tip: Reserve some of the onion-frying oil to use in cooking the rice and tomato sauce for extra flavor.
2. Cook the Lentils:
- In a medium saucepan, combine the rinsed lentils, water, cumin powder, and a pinch of salt.
- Bring to a boil, then reduce the heat to low, cover, and simmer for 20-30 minutes, or until the lentils are tender but not mushy. They should still hold their shape.
- Drain any excess water and set aside.
3. Cook the Rice:
- In a medium pot, heat 1 tablespoon of vegetable oil (or reserved onion oil) over medium heat.
- Add the rinsed rice and stir for a minute to coat the grains with oil.
- Add the water or vegetable broth and salt. Bring to a boil.
- Once boiling, reduce the heat to low, cover the pot tightly, and simmer for 15-20 minutes, or until all the water is absorbed and the rice is fluffy.
- Remove from heat and let it sit, covered, for 5-10 minutes before fluffing with a fork.
4. Cook the Pasta:
- Bring a large pot of salted water to a boil.
- Add the elbow macaroni (or ditalini). If using vermicelli or broken spaghetti, you can either cook it with the macaroni or toast it separately in a little oil until golden before boiling.
- Cook the pasta according to package directions until al dente.
- Drain the pasta and toss with a tablespoon of oil (optional) to prevent sticking. Set aside.
5. Prepare the Chickpeas:
- If using canned chickpeas, simply rinse and drain them. You can warm them slightly before serving if desired.
- If using dried chickpeas, ensure they have been soaked overnight and boiled until tender.
6. Make the Tomato Sauce (Salsa Hamra):
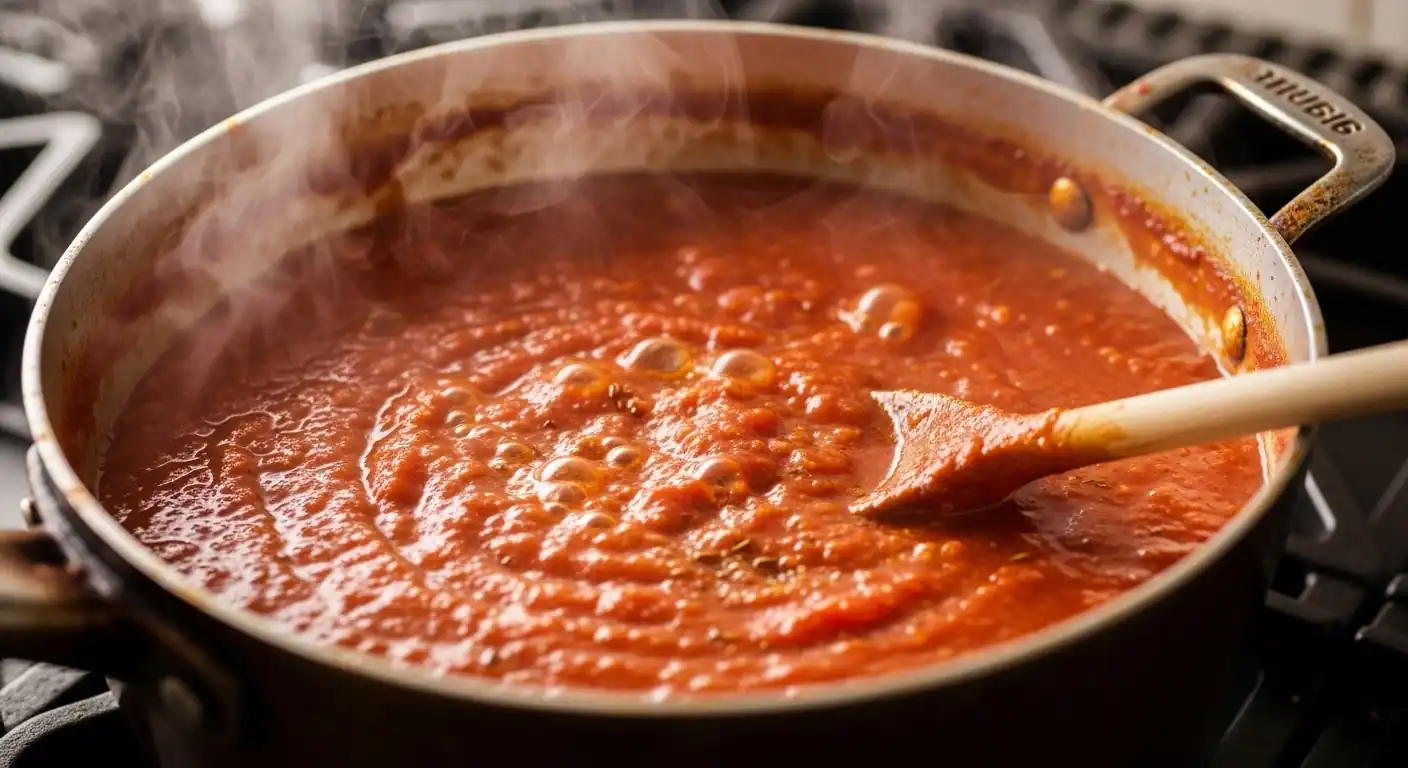
- In a large saucepan or pot, heat 2 tablespoons of olive oil (or reserved onion oil) over medium heat.
- Add the chopped onion and sauté until softened and translucent, about 5-7 minutes.
- Add the minced garlic and cook for another minute until fragrant, being careful not to burn it.
- Stir in the tomato paste, cumin powder, coriander powder, and red pepper flakes. Cook for 1-2 minutes, stirring constantly, to toast the spices and deepen the flavor of the tomato paste.
- Pour in the crushed tomatoes (or tomato puree) and water. Add the white vinegar and sugar (if using). Season with salt and black pepper.
- Bring the sauce to a simmer, then reduce the heat to low, cover, and let it cook for at least 20-30 minutes, stirring occasionally, to allow the flavors to meld. If the sauce becomes too thick, add a little more water until it reaches your desired consistency. Taste and adjust seasonings if needed.
7. Prepare the Optional Sauces:
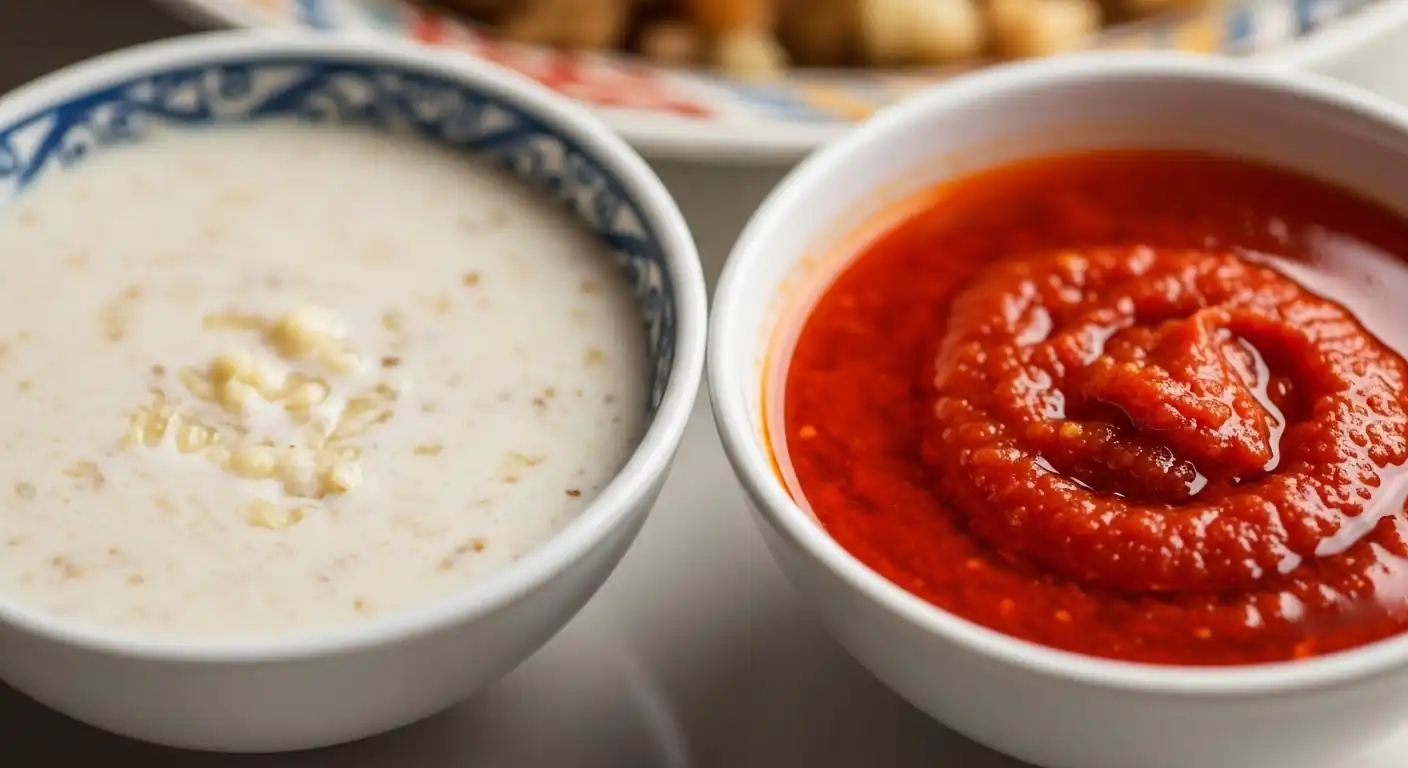
- Garlic Vinegar Sauce (Dakka): In a small bowl, combine the minced garlic, water, white vinegar, cumin powder, lemon juice (if using), and salt. Stir well and set aside. This sauce is typically served cold or at room temperature.
- Spicy Chili Sauce (Shatta): In a small saucepan, heat the olive oil over low-medium heat. Add the minced garlic and red pepper flakes (or fresh chilies) and cook for a minute until fragrant – be careful not to burn the garlic or chili. Stir in the tomato sauce, lemon juice or vinegar, and salt. Simmer for a few minutes. Let it cool.
8. Assemble Your Koshari:
This is where the fun begins! Koshari is all about layering.
- Start with a base layer of the cooked rice in a bowl or on a plate.
- Add a layer of the cooked lentils.
- Next, add a layer of the cooked pasta.
- Spoon a generous amount of the warm tomato sauce over the pasta.
- Sprinkle a good portion of the chickpeas on top.
- Finally, crown your Koshari with a generous heap of the crispy fried onions.
- Serve immediately, with the Dakka and Shatta sauces on the side for everyone to add according to their preference.
Tips for Koshari Success
- Mise en Place: With multiple components, it’s helpful to prep all your ingredients (chopping onions, mincing garlic, measuring spices) before you start cooking.
- Don’t Overcook: Pay attention to the cooking times for the rice, lentils, and pasta. You want distinct textures, not a mushy blend.
- Flavorful Oil: Using the oil from frying the onions for the rice and tomato sauce adds a wonderful depth of flavor.
- Crispy Onions are Key: Take your time frying the onions to achieve that perfect golden crispiness. They truly elevate the dish. If you’re short on time, store-bought fried onions can work in a pinch, but homemade are far superior.
- Customize Your Spice: Adjust the amount of red pepper flakes in the tomato sauce and Shatta to suit your heat preference.
- Make it Ahead (Partially): Many components can be made ahead of time. The sauces, lentils, and rice can be cooked a day in advance and reheated. Fry the onions closer to serving time for maximum crispiness.
- Serving Style: While individual bowls are common, you can also serve Koshari family-style, with each component in a separate dish, allowing everyone to build their own bowl.
Koshari Variations
While the classic Koshari is a masterpiece, there are subtle variations:
- Pasta Types: Some recipes use only one type of small pasta, while others include broken spaghetti or vermicelli for added texture.
- Lentil Type: Brown or green lentils are most common.
- Spice Levels: The heat in the tomato sauce and the accompanying Shatta can vary greatly.
- Additional Toppings: While not traditional, some modern interpretations might include a sprinkle of fresh parsley for color.
Why Koshari Deserves a Spot in Your Kitchen Repertoire
Koshari is more than just a recipe; it’s an experience. It’s a testament to how simple, everyday ingredients can be transformed into something truly special. It’s:
- Deliciously Unique: The combination of flavors and textures is unlike anything else.
- Hearty and Satisfying: This is a meal that will leave you feeling full and content.
- Budget-Friendly: Made primarily from pantry staples, Koshari is an economical choice.
- Vegetarian/Vegan: A fantastic option for those following plant-based diets.
- A Crowd-Pleaser: Its customizable nature makes it a hit with diverse palates.
So, roll up your sleeves, gather your ingredients, and embark on the delicious journey of making Koshari. It’s a taste of Egyptian street food magic that you can recreate and savor in the comfort of your own home. Enjoy the process, and “Bel Hana Wel Shefa” (bon appétit in Egyptian Arabic)!


